
This guide provides a breakdown of common settings I have found to be useful for general use cases on the Meshtastic network with standard devices. For a full breakdown of all options supported in Meshtastic nodes, refer to the official documentation for Meshtastic.
If you prefer Peertube, we have a Peertube mirror available too!
Provides device name and identifier information.
If you do not plan on monitoring the device for messages, ie: it will be an isolated node to relay messages only, it is recommended to toggle Unmessageable
just to denote to other clients that direct communication with this device will not be seen by anyone.
Licensed HAM operators can toggle that option if you want to transmit at higher power rates, at the drawback of not being allowed to encrypt traffic. (Even if you are a licensed operator, it's generally recommended to leave this disabled to provide more functionality.)
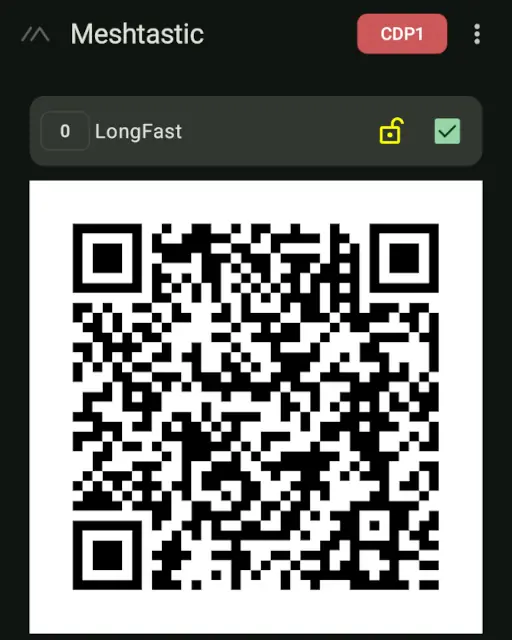
The primary channel is used to transmit your device's telemetry (battery/temperature/humidity/pressure data), device info (user-set name and 4-digit short code), and optionally if enabled location. Additional channels can be added, (up to 7 secondaries), to enable communication on a private channel. In order for devices to communicate, both channel name AND channel encryption key must match on both devices. This means that to talk with devices on the public default channel of LongFast, your device must have a channel named exactly LongFast with an encryption key of AQ==. A channel named Public with an encryption key of AQ== WILL NOT be able to communicate with the public network!
How you choose to set up your channels will depend greatly on how you intend to use the network. A misconception I had was enabling location on a primary public channel and exact position on a private secondary channel will allow me to track my personal devices precisely while having their approximate location in the city available to the public. This is NOT the case however due to how the code is structured. Note, it COULD work this way, but the project leadership opted not to allow it.
First off is location tracking; as of Meshtastic 2.7 your device will only send your position on the first channel with location enabled! This means if the first channel is public with approximate location and a secondary private channel has precise location enabled, you will only ever get approximate location. This is because periodic locations are only sent on the public channel with approximate locations!
To get around this, you can use a private channel as your primary and have public as a secondary. This will make your device send location and telemetry on your private channel, (as "0" is less than "1" and is iterated first in the code), and that location will be precise. By enabling approximate locations on the public channel, you are allowing public devices to query your device location to receive an approximate location, but this must be a manual process on the remote end. A caveat to this however is that telemetry will also only be sent via your private channel too, so public nodes won't be able to see your temperature, battery status, etc.
For base stations on a public location I prefer to have the primary channel as public so its battery status, location, and any environmental sensors are sent to the public. These base stations will still relay private channels even if they do not contain the private channel key.
| Modem Preset | Slot | Frequency | Bandwidth |
|---|---|---|---|
| Short Turbo | 50 | 926.750 MHz | 21.88 kbps |
| Short Fast | 68 | 918.875 MHz | 10.94 kbps |
| Short Slow | 75 | 920.625 MHz | 6.25 kbps |
| Medium Fast | 45 | 913.125 MHz | 3.52 kbps |
| Medium Slow | 52 | 914.875 MHz | 1.95 kbps |
| Long Fast | 20 | 906.875 MHz | 1.07 kbps |
| Long Moderate | 6 | 902.2875 MHz | 384 bps |
| Long Slow | 27 | 905.3125 MHz | 184 bps |
Default frequency for LongFast is 906.875MHz on slot 20. Changing the name of the primary channel will change this base frequency! If you wish to change the name of the first channel and stay on the default frequency, set Frequency Slot to 20 in the LoRa configuration.
(Note, if you would like to join an existing community, remember that some groups may use different frequencies. At the time of writing the central Ohio mesh operates on LongFast on slot 20 (906.875 MHz) for example.)
Precision allows you to specify how accurate of a location fix to broadcast. Since some Meshtastic device have GPS included they have the ability to obtain your precise location down to a few meters. For security reasons it is usually advisable to obscure your personal location if you choose to broadcast it, but how much is up to you.
2392 feet or 729 meters radius gives obscurity of a few city blocks, enough to know which neighborhood the device is located within, but not necessarily which street.
For rural users however where there may be a kilometer between houses, you may prefer to go with a more obscure option.
Allows you to control how the device behaves, most of which affect only the device itself, but Role affects how the device interacts with the network.
The official instructions are to leave the role as Client.
For your specific timezone, refer to the Posix timezone list.
CLIENTEST5EDT,M3.2.0,M11.1.0Smart position can be useful for mobile nodes, as they can keep track of their position and only broadcast when they have moved so far. Alternatively fixed position can be used for static nodes which do not contain GPS modules, (or disabled to save power).
Traditional GPS takes a lot of power, so use your best judgement when applying settings. A device with a fast update interval will better track its position but will drain the battery faster. For battery-powered devices which are not expected to move quickly, (ie walking or hiking), an update interval of 120 or 300, (2 minutes or 5 minutes), is probably sufficient while still preserving battery life.
For vehicle-based nodes running off the car's electrical system, an update interval of 30 seconds is probably fine as the device draws power from the car.
For devices which lack geopositioning capability altogether, GPS Mode should be disabled completely to conserve battery life by not having the radio check for a GNSS sensor.
900Enabled100m / 6060939 (Add Timestamp)Adjust if you want to control sleep settings. I usually leave these disabled for general purpose devices or base stations with a persistent electrical connection, (ie: plugged into an outlet).
In my testing, power savings is buggy and unreliable, especially for ESP32 devices, so therefore I leave them disabled entirely.
Power saving can be particularly useful for nodes responsible for asset tracking such as a car node, especially if the radio is a power-hungry ESP32. In this example a car node is wired into the vehicle's power and has a dedicated battery. While the car is running the radio can recharge its internal battery and will operate continuously, receiving and transmitting data without pause. After the car is shut off however, the radio should be available to transmit its position for as long as possible.
Enabled12090090060This will put the CPU into a sleep mode 2 minutes after the vehicle shuts off. Depending on the radio, this may shut off all communication on the LoRa network.
Then it will sleep for 15 minutes before the CPU starts back up to check the power status and perform scheduled checkins. If the radio is still on battery power, it will only have 2 minutes to complete these before the CPU is put into its sleep cycle for another 15 minutes.
Update Aug 2025, this in theory is how it seems like it's supposed to work, but in my testing Heltec radios would frequently just never wake and would require a manual restart.
This cycle allows a battery which can normally only operate the radio for 4 hours to be extended to several days, at the drawback of less frequent communication.
It must be noted that the radio will not power up into full operation immediately upon starting the vehicle, (or applying external power). Using these settings, radio start-up may be delayed up to 14 minutes and 59 seconds after starting the car, (assuming the CPU entered sleep just prior to starting the vehicle).
As of Meshtastic 2.7, power saving is an all-or-nothing option; there is no functionality to only enter power-saving upon hitting 50% battery capacity.
If the radio does not detect external 5v power, it simply applies the power saving timers regardless of current battery capacity.
Join your device to a wifi network, warning, will disable bluetooth. I usually just enable Bluetooth for general devices, as they travel around. For stationary nodes, it may make sense to use a network connection instead though.
Controls the display functionality, (only for devices which have a display of some sort).
Some notable options for your personal preference are Display units and Use 12h clock.
These settings control how the radio talks with other nodes on the network, so is critically important for communication. If you use a custom network, you can adjust these, but all your devices must share the same settings.
If you do not want your device visible on those cool online maps of the network but still participate in the default network, ensure that OK to MQTT is disabled. This will broadcast a flag to other nodes to not forward your device to the internet.
EnabledLONG_FAST0.0United States3Enabled3020906.875EnabledJust sets your bluetooth options. For devices without a screen detected, a fixed pin of 123456 is used.
It's really recommended to pick something else or leave it on random if your device has a screen.
Bluetooth is only available when wifi is disabled.
Provides some security options for your device and displays your public and private keys. This public key is required when managing another node from across the LoRa network.
This section allows you to set a public key of another device that is authorized to manage it across the LoRa network. This can be extremely useful if you need to manage a node out of Bluetooth and wifi range.
To set up a remote admin key:
Some notes when using the remote key functionality:
To manage the remote node browse to its details
and scroll down to Remote Administration. From there you will be able to issue commands as if you were connected via Bluetooth.
Managed Mode is NOT required for remote management and will DISABLE Bluetooth and wifi management! DO NOT ENABLE unless you know what you are doing!
Adds the ability for your device to send IP packets on the network (or through a paired phone) to an MQTT network. This will enable communicate world-wide and will cause a lot of traffic and notifications!
Fun to play with and stations with a nearby internet connection can benefit from it, but I generally leave it disabled for general purpose nodes.
| Seconds | Min/Hrs |
|---|---|
| 60 | 1 min |
| 120 | 2 min |
| 180 | 3 min |
| 240 | 4 min |
| 300 | 5 min |
| 600 | 10 min |
| 900 | 15 min |
| 1800 | 30 min |
| 3600 | 1 hr |
| 7200 | 2 hrs |
| 10800 | 4 hrs |
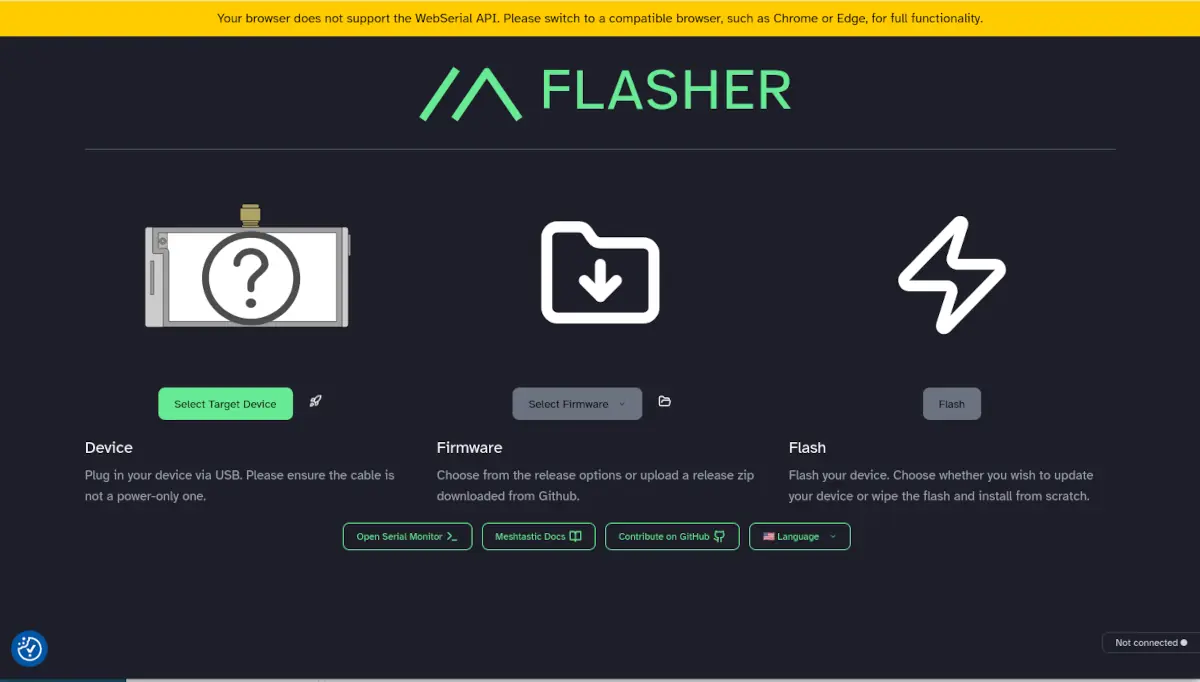 Meshtastic Firmware Flasher (Chromium-based browser only)
 Meshtastic Web Client (Chromium-based browser only)
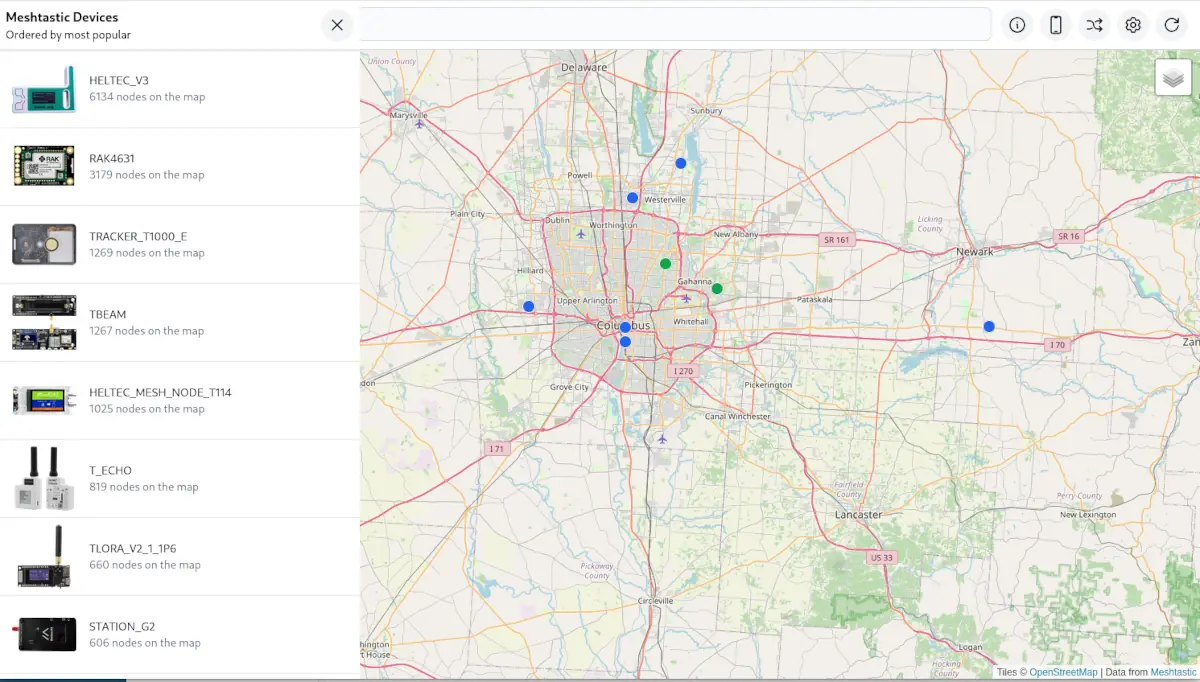 Meshtastic Node Map by Liam Cottle
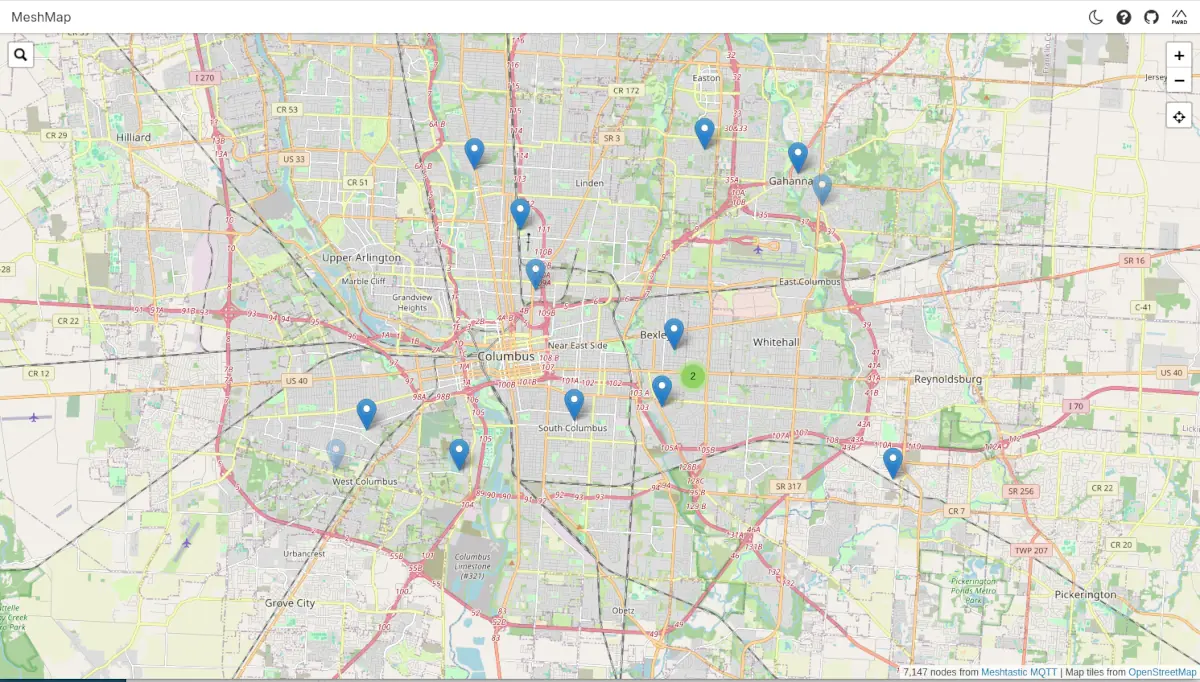 Meshtastic Mesh Map by Brian Shea
Local Meshsense by Affirmatech
This is not an exhaustive list of options available but hopefully will help you get up and running quickly with a Meshtastic device! If I've forgotten something useful or you feel something should be adjusted, please let me know in the comments!
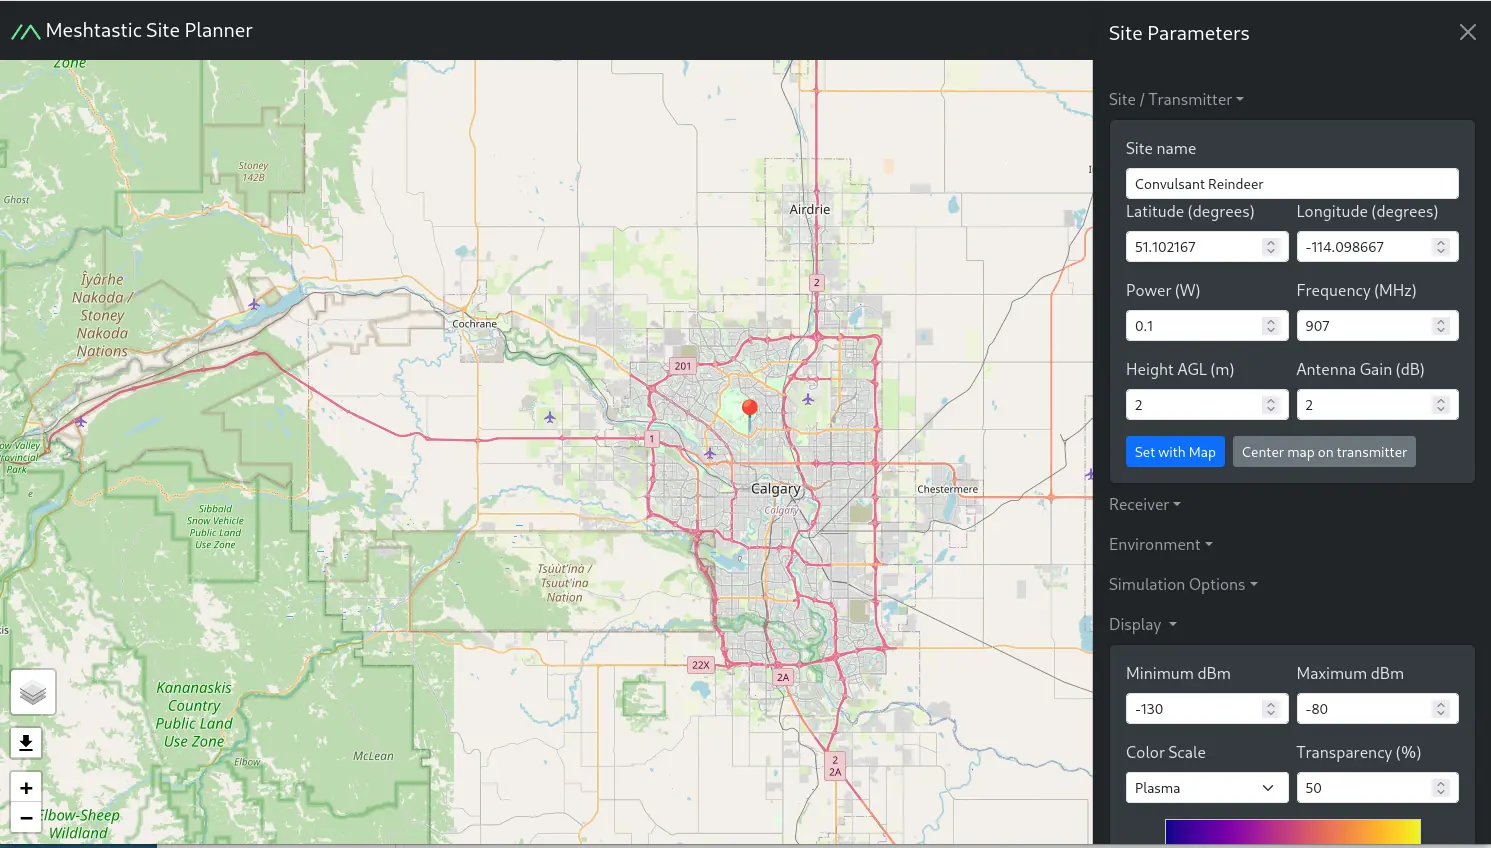 Meshtastic Site Planner
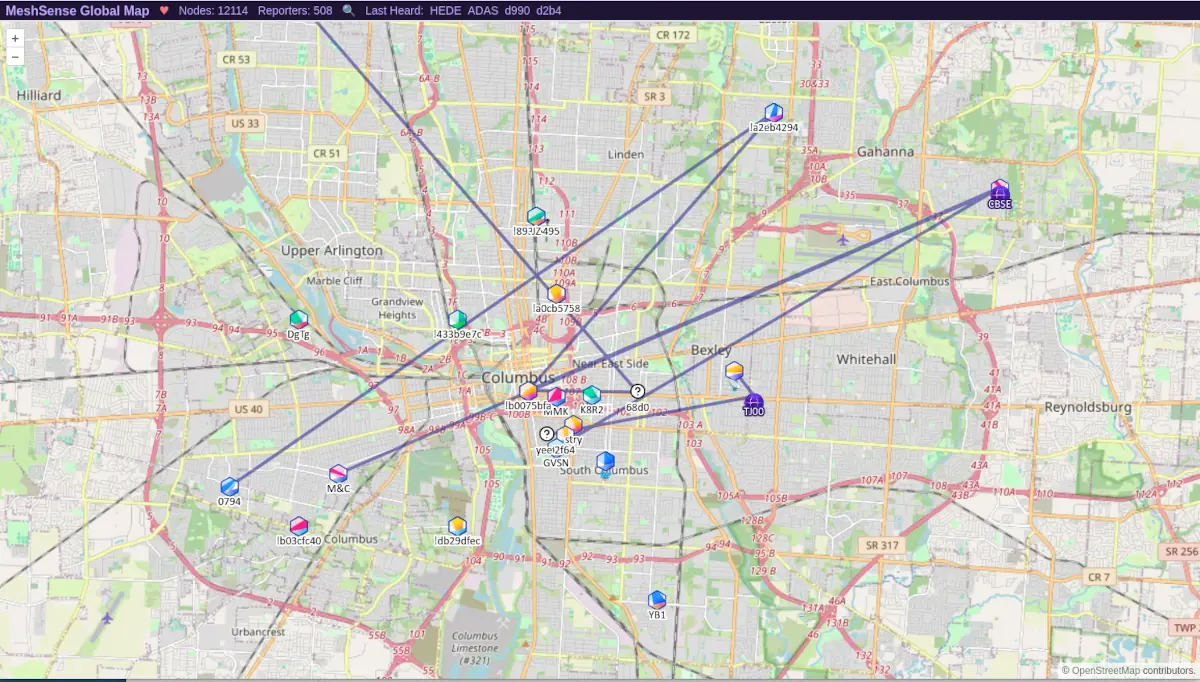 Meshsense Map by Affirmatech